The following walkthrough explains how designers might build a decision flow in the platform.
Accessing the Decision Flow
To open the Decision Flow view in Model:
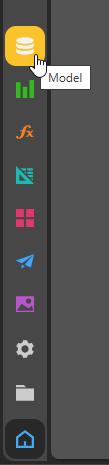
- Open Model from the App Toolbox or, if you already have some files open, the App Tabs menu.
- Click Decision Flow.
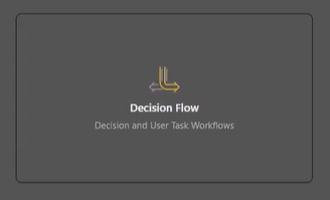
The Flows "launch page" opens. Note that this page is split between Data Flow options (Smart Model, Direct Model, Model Lite, and Model Pro) and this Decision Flow option.
A Master Flow page opens. This is where you will create your Decision Flow.
Adding nodes to your canvas
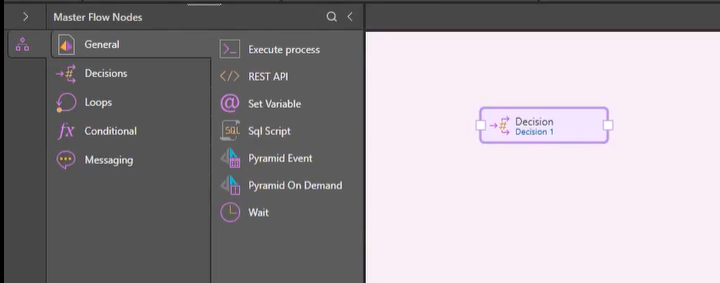
From the Nodes panel (left):
- Drag and drop a Decision node onto the canvas.
- Select the node and, in the Properties panel, click Query Condition.
- Once you have defined the Decision, you can add other nodes that represent the downstream events that should be triggered by that condition. You can use Master Flow nodes, including Rest API to make an API call or Email to auto distribute reports to recipients by email.
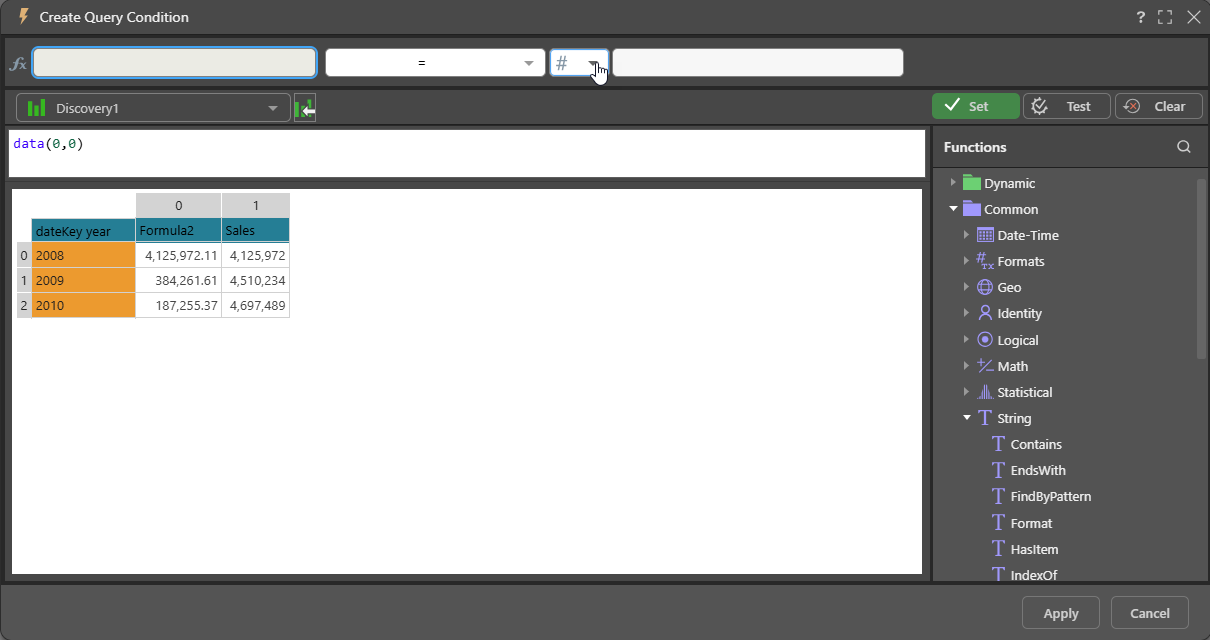
This opens the Create Query Condition dialog, where you will build a condition that drives one or more triggers. The condition uses analytical data and artifacts from the platform whose outcome (true or false) triggers downstream events.
For example, we can build a condition here to select data (in the example, from a Matrix Grid) and specify that, if data cell 0,0 has a value that is less than a static value, the condition evaluates to true. Click Set and Apply to save to condition and close the dialog.
For detailed information about this dialog and its controls, see Triggered Schedule Launch in the Publish help.
For example, you can add User Task nodes that represent the events that should occur when the condition is either true or false:
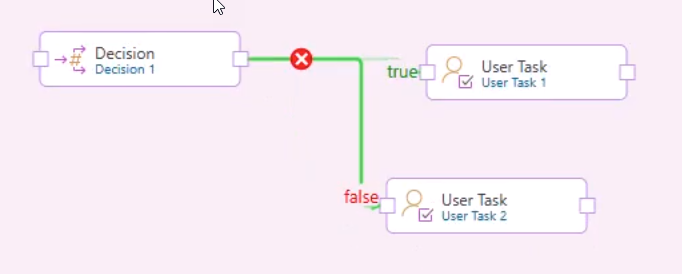
Note: User task design is handled through the Custom Workflow engine in the Admin Console. If you are an administrator, you can build your own task interface using custom HTML, JavaScript, or CSS.
Example: Complex decision flows
This example shows an inventory item reordering flow:
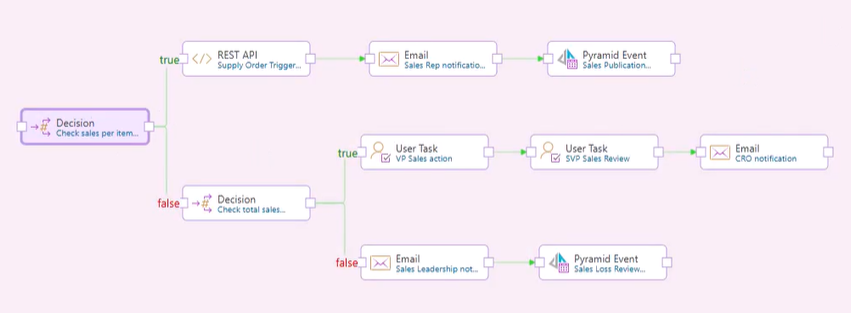
In this example we start with the Decision:
- If sales per quantity is over a certain amount (true), Pyramid makes a REST API call to the supplier systems and starts to order more. It sends an email and runs reports which will be auto distributed to recipients.
- If sales per quantity is not over a certain amount (false), a different decision node (Decision 2) runs and checks overall sales:
- If that value is above a total sales threshold, a user task is set for the VP of sales. When that task is done, another user task for the SVP sales runs, and then finally an email sends a warning to the CRO.
- Otherwise, if it's below the total amount, it sends an email to the entire sales leadership and runs a sales loss report from the platform.